
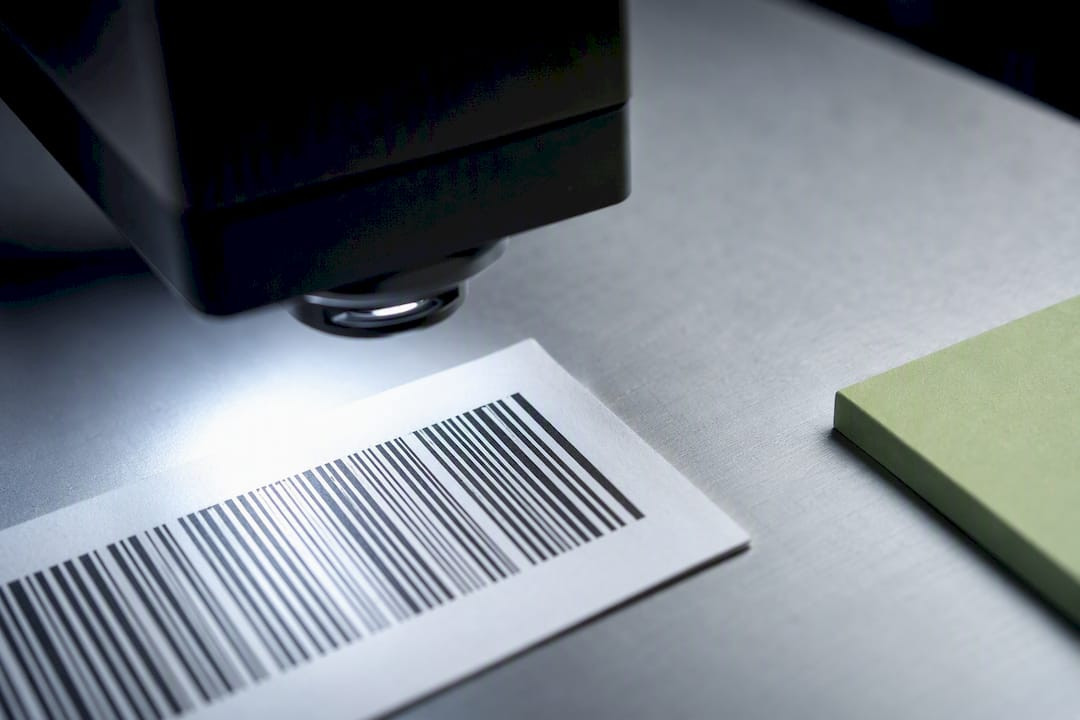
Ticketing: Stop Failed Scans. Add 1 to 2 mm to Barcode Quiet Zone
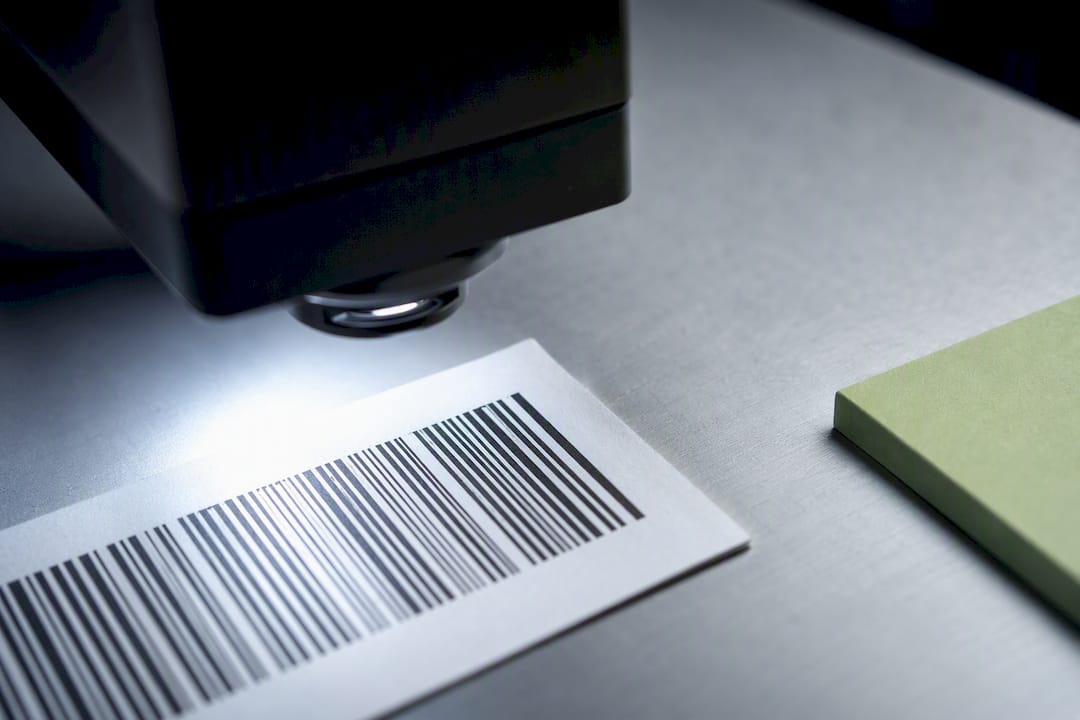
A barcode quiet zone is the blank margin of empty space that must surround every bar or module so a scanner can find the symbol’s edges before it reads a single character. The standard rule of thumb is 10 times the narrowest bar width (the X-dimension) for linear barcodes and roughly 4 times the module size for QR codes. Get that margin wrong, and even a perfectly printed barcode will fail to decode, so the practical move is to build in extra buffer beyond the minimum and test on the actual substrate before a print run ships.
TL;DR:
- Quiet zones must be at least 10 times the X-dimension for linear barcodes and 4 times for QR codes, with additional buffer recommended for manufacturing variations.
- Compromising the quiet zone causes false starts, truncation, longer scan times, and increased operator intervention, leading to frequent unreadable barcodes.
- Proper measurement requires sizing the quiet zone based on the actual printed X-dimension or module, then adding 1 to 2 millimeters of buffer before testing on final substrates.
- Most failures occur during production due to ink bleed, substrate changes, or placement issues, not design errors, so consistent verification with actual scanners is essential.
- Using pre-built tickets designed with correct quiet zones and following GS1 standards minimizes misreads and ensures reliable barcode scanning in high-volume operations.
Table of Contents
- What the Barcode Quiet Zone Does During a Scan
- Minimum Quiet Zone Sizes by Barcode Symbology
- How to Measure a Quiet Zone Correctly
- Printing, Color, and Placement Rules That Protect the Margin
- Testing and Verification Before a Full Print Run
- Producing Barcoded Tickets Without Losing the Margin
- Weighing Redesign, Substrate, or Scanner Upgrades
- How Caymil Helps You Get Barcode Tickets Right the First Time
- Standards and Testing Resources Worth Bookmarking
- Why Quiet Zones Get Sacrificed First, and Why That’s Backwards
- Sources
- FAQ
What the Barcode Quiet Zone Does During a Scan
A scanner doesn’t “see” a barcode the way a person does. It sweeps a laser or camera sensor across the surface looking for a specific transition pattern, dark bars against light space, and it needs a clean reference point to know where that pattern starts and stops. The quiet zone is that reference point. Without it, the scanner has no reliable way to distinguish the barcode from a logo, a printed border, or a stray line of text sitting right next to it.
Omron’s technical explainer describes quiet zone violations as one of the most common, and most fixable, causes of unreadable barcodes in the field. The problem is rarely the barcode’s data structure. It’s what’s crowding its edges.
Here’s what happens when that margin gets compromised:
- The scanner reads a false starting edge, pulling in noise from nearby graphics or text.
- Symbols get truncated, so the decoder only captures part of the message and rejects the whole read.
- Scan times stretch out because the reader has to attempt multiple passes before it locates a clean edge.
- Operators start “helping” the scan by repositioning tickets or cards, which slows every checkout or gate transaction down.
GS1’s product barcoding guidance treats the quiet zone as a formal requirement, not a suggestion, precisely because these failures compound at scale. One bad scan is an inconvenience. A few thousand bad scans a week is a labor cost.
Minimum Quiet Zone Sizes by Barcode Symbology
Every barcode symbology sets its own minimum quiet zone, and the multiplier is almost never the same number twice. Designers who assume “one size fits all barcodes” are the ones who end up troubleshooting failed scans after the print run is already in a customer’s hands.
The reference points below come from GS1’s 2D in Retail Playbook, which the AIDC Lab uses as its baseline for symbology-specific testing.
| Symbology | Type | Minimum quiet zone | Notes |
|---|---|---|---|
| Code 39 | 1D linear | 10× X-dimension | Wider zone recommended on both sides at small X values |
| Code 128 | 1D linear | 10× X-dimension | Common on tickets and shipping labels |
| Interleaved 2 of 5 | 1D linear | 10× X-dimension | Sensitive to narrow X-dimensions; tight zones cause frequent misreads |
| UPC-A / EAN | 1D linear | 4× module size (roughly) | GS1 specifies exact side margins for retail point of sale |
| QR Code | 2D matrix | 4× module size | Applies on all four sides of the symbol |
| Data Matrix | 2D matrix | 1× module size | One of the most space-efficient symbologies for tight layouts |
| — | 2D stacked | 2× X-dimension | Larger zone needed on left and right than top and bottom |
| Aztec Code | 2D matrix | None required | Built-in finder pattern eliminates the need for a clear border |
Minimums for UPC and EAN variants shift slightly depending on magnification factor, since retail packaging barcodes are often printed smaller or larger than nominal size. When a design sits anywhere near a minimum, particularly on Interleaved 2 of 5 or a shrunk UPC, it’s worth checking the current GS1 General Specifications rather than relying on a rule of thumb from memory. Aztec’s exception is the one every designer forgets: it’s the only major symbology built to tolerate zero dedicated quiet zone, which makes it a common fallback for label real estate that’s already maxed out.
How to Measure a Quiet Zone Correctly
Quiet zone math starts with the X-dimension, the width of the narrowest single bar or space in a linear barcode. For 2D codes, the equivalent unit is the module, the smallest square in the grid. Every quiet zone requirement is expressed as a multiple of one of these two units, never as a fixed measurement like inches or millimeters on its own.
Here’s how to size a quiet zone for real artwork:
- Identify the X-dimension or module size your printer will actually produce at final scale, not the value in your design software’s default template.
- Multiply by the symbology’s minimum multiple. A Code 128 barcode with an X-dimension of 0.010 inches needs a quiet zone of at least 0.100 inches (10 × 0.010) on each side.
- Add a manufacturing buffer. GS1-aligned production guidance recommends adding 1 to 2 millimeters beyond the calculated minimum to absorb print growth and registration shift during a live run.
- Build the artwork at final print size. Never design at 200% and scale down. Scaling distorts the X-dimension relationship and can quietly shrink your margin below the minimum without any visual warning.
- Confirm on a proof from the actual print method, since thermal transfer and direct thermal printers behave differently at the same nominal settings.
Pro Tip: Keep a printed ruler or a loupe with a calibrated scale on the production floor. Measuring quiet zones on-screen in your design file tells you nothing about what the printer actually laid down on the substrate.
Printing, Color, and Placement Rules That Protect the Margin
Most quiet zone failures aren’t design mistakes. They’re production mistakes that happen after the artwork already passed approval. Ink bleed on absorbent stock, a substrate swap that changes how toner sits on the surface, or a barcode placed one inch from a die-cut edge can each turn a technically correct design into an unreadable one.
GS1’s color and contrast guidance is specific here: quiet zones must match the barcode’s light background, dark bars belong on light space, and certain hues (particularly reds and oranges) scan poorly under standard laser wavelengths regardless of how clean the margin looks to the eye.
Production teams that consistently pass scan verification tend to follow the same short list:
- Never place text, dielines, perforation marks, or fold lines inside the quiet zone, even faint registration marks.
- Keep barcodes away from ticket edges, seams, and any perforated tear line; GS1 US placement guidance recommends full-height printing with no truncation.
- Give small tickets and labels extra margin beyond calculated minimums, since tight layouts leave the least room for print drift to be absorbed safely.
- Match print method to substrate: thermal-transfer ribbon resists smearing on glossy stock better than direct thermal in high-friction dispensing equipment.
Adding just 1 to 2 millimeters of buffer beyond the calculated minimum absorbs most of the registration shift and print growth that shows up in real production runs, according to GS1-aligned manufacturer guidance. That small margin is often the difference between a barcode that scans every time and one that fails intermittently once a machine drifts out of calibration.
Testing and Verification Before a Full Print Run
A design that looks correct on a proof can still fail once it hits a scanner running at production speed. Verification means running actual scan tests, not just a visual check against the spec sheet.
- Set scanner timeout appropriately for the environment. GS1 AIDC Lab testing found that high-speed bi-optic scanners decode in a few hundred milliseconds, while handheld and presentation scanners typically take somewhat longer; a timeout window ranging from low hundreds to several hundred milliseconds balances throughput against giving the reader enough time to complete a clean decode.
- Pull a representative sample from the actual print run, not a proof sheet, and scan at least 20 to 30 units across the batch to catch drift that a single sample would miss.
- Define pass/fail criteria before testing starts: a decode failure rate above a small, pre-agreed threshold means the batch gets flagged, not waved through.
- Test under the lighting and handling conditions the ticket will actually face, since a barcode that scans cleanly under office lighting can behave differently under a valet booth’s fluorescent glare or a parking gate’s outdoor sun exposure.
- Decide between narrower artwork and a scanner upgrade only after testing shows a real, repeatable failure rate, not a hunch based on how tight the margin looks.
Testing on the final substrate under representative conditions with the same scanner models used at the point of service catches the vast majority of quiet zone problems before they reach a full production run.
Producing Barcoded Tickets Without Losing the Margin
Ticket layouts are some of the tightest real estate in barcode design. A valet stub or a machine-issued roll ticket has a logo, a sequence number, terms language, and a barcode all competing for a few square inches, which is exactly the environment where quiet zone violations happen most often.
Caymil has built ticket production around final-size artwork from the start rather than scaled-down templates, since that single habit prevents most of the quiet zone shrinkage that shows up later on press. Production controls include selecting bleed allowances that keep required margins intact on die-cut and perforated stock, and matching print method (thermal-transfer or direct thermal) to the barcode symbology a given ticket roll actually needs, whether that’s Code 128 for sequential tracking or a 2D symbol for integrated parking systems. Decades of manufacturing millions of tickets for parking and valet operators has made one thing clear: a barcode that works on a design proof isn’t automatically one that survives a dispenser, a pocket, and a scanner at a gate.
Weighing Redesign, Substrate, or Scanner Upgrades
When a quiet zone violation shows up in a high-volume operation, the fix isn’t always a redesign. Sometimes the cheaper answer is a substrate change, and sometimes it’s a scanner capable of tolerating a tighter margin. Weigh it against downtime: a fleet of misreads at a parking gate costs more in labor and customer friction than most artwork revisions ever would. Where the product touches retail or regulated environments, follow GS1’s published specifications rather than an internal shortcut. They exist because someone already tested the failure modes.
How Caymil Helps You Get Barcode Tickets Right the First Time
Caymil is the direct source for barcoded ticket production, not a print shop guessing at quiet zone math after the fact. Every barcoded valet ticket, machine-issued roll ticket, and custom parking form is produced at final print size with bleed allowances and print methods matched to the barcode symbology your system actually needs, which is exactly the production discipline this article just walked through.
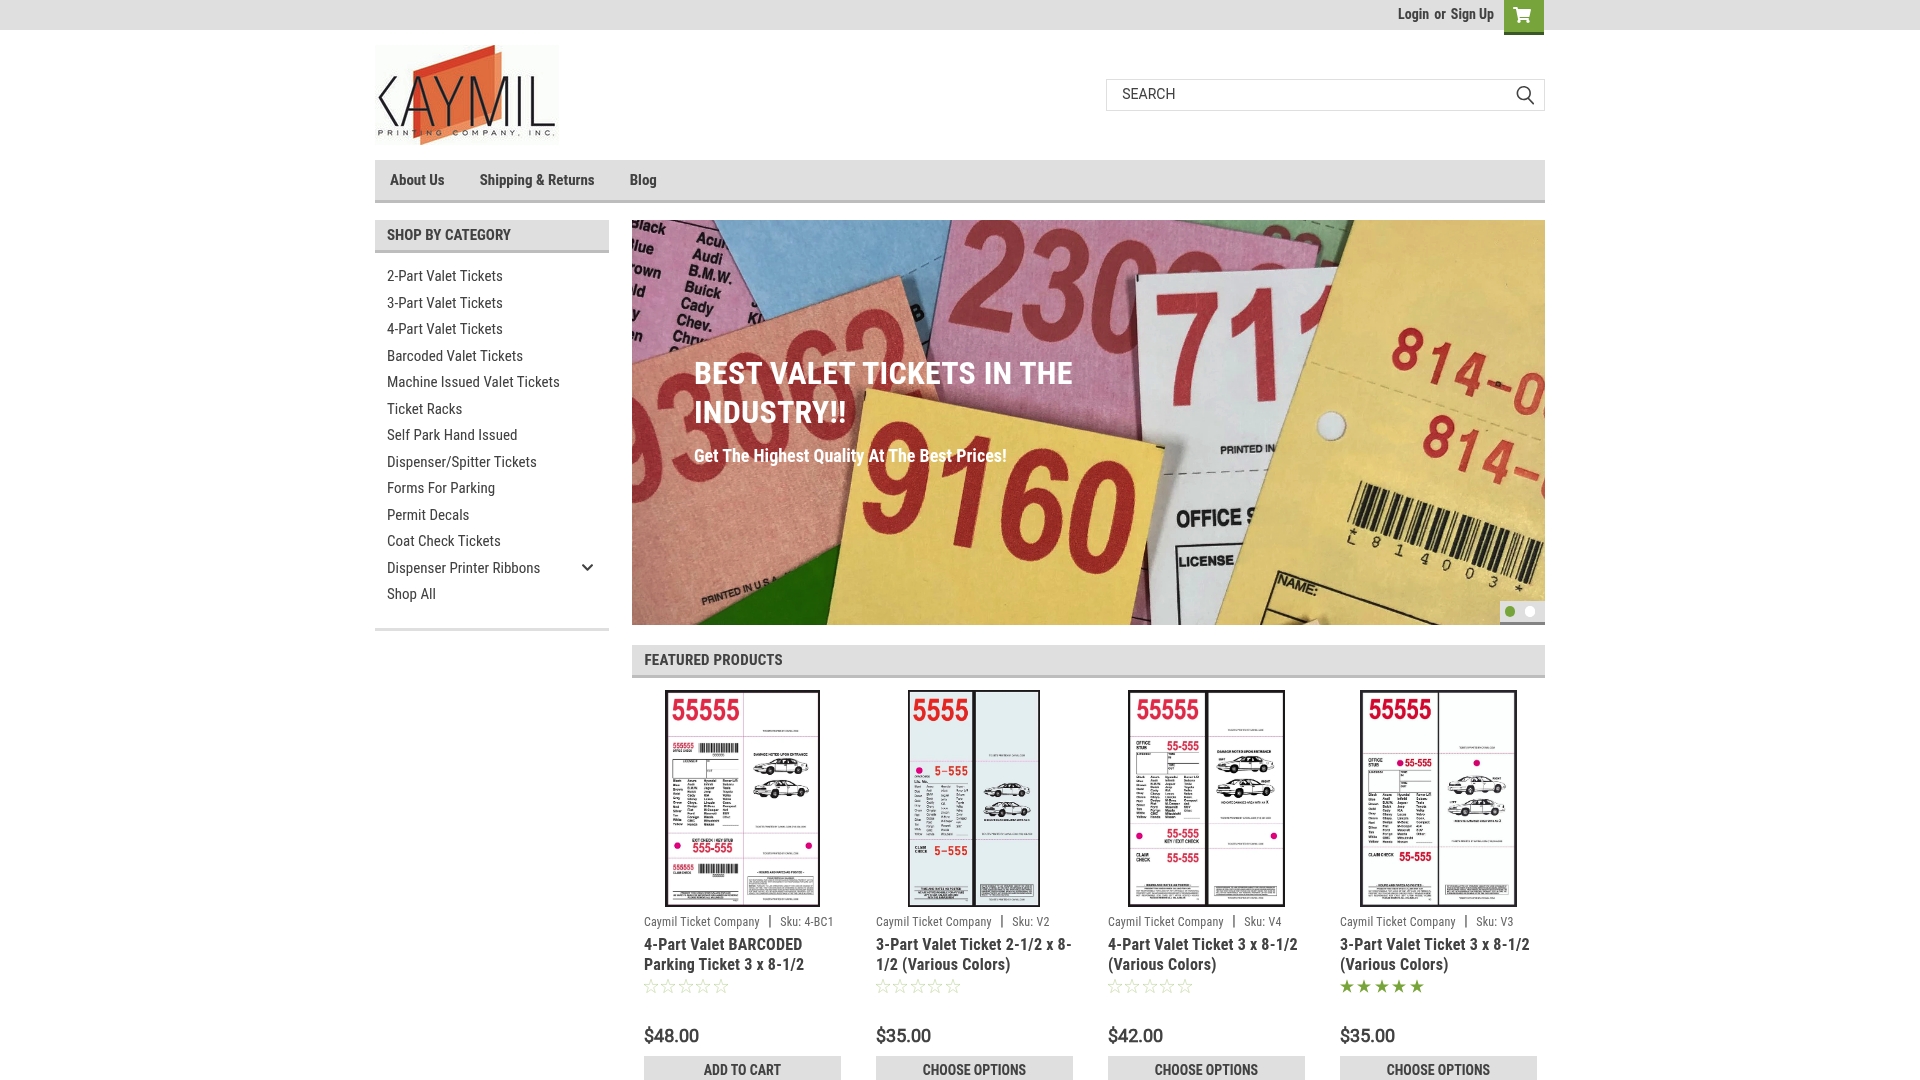
Ordering pre-built ticket products removes the guesswork that trips up in-house designs: no scaling artwork after the fact, no substrate mismatched to your dispenser, no barcode sitting one inch from a die-cut edge. Caymil’s barcoded valet parking tickets and machine-issued roll tickets are built for exactly this constraint, whether you’re running Amano, TIBA, SKIDATA, or another major parking system. If your current tickets are producing inconsistent scans, request a technical consultation on your specifications through Caymil’s parking forms catalog and get a layout that passes verification before it ever reaches a gate.
Standards and Testing Resources Worth Bookmarking
Start with GS1’s General Specifications and the 2D in Retail Playbook for symbology minimums and scanner testing benchmarks. For production-side troubleshooting, Dynamsoft’s reader technology guide covers substrate and print-method pitfalls in detail. When a design decision touches retail compliance, your local GS1 Member Organization can confirm specifics for your region.
Why Quiet Zones Get Sacrificed First, and Why That’s Backwards
Every design review I’ve watched eventually runs out of space, and the quiet zone is almost always the first thing that gets trimmed. It’s invisible on the proof, it doesn’t carry a logo or a legal disclaimer, and nobody in the meeting is going to argue for more blank space when the layout already feels crowded. That instinct is exactly backwards, and it’s the single most avoidable cause of barcode failure in production environments.
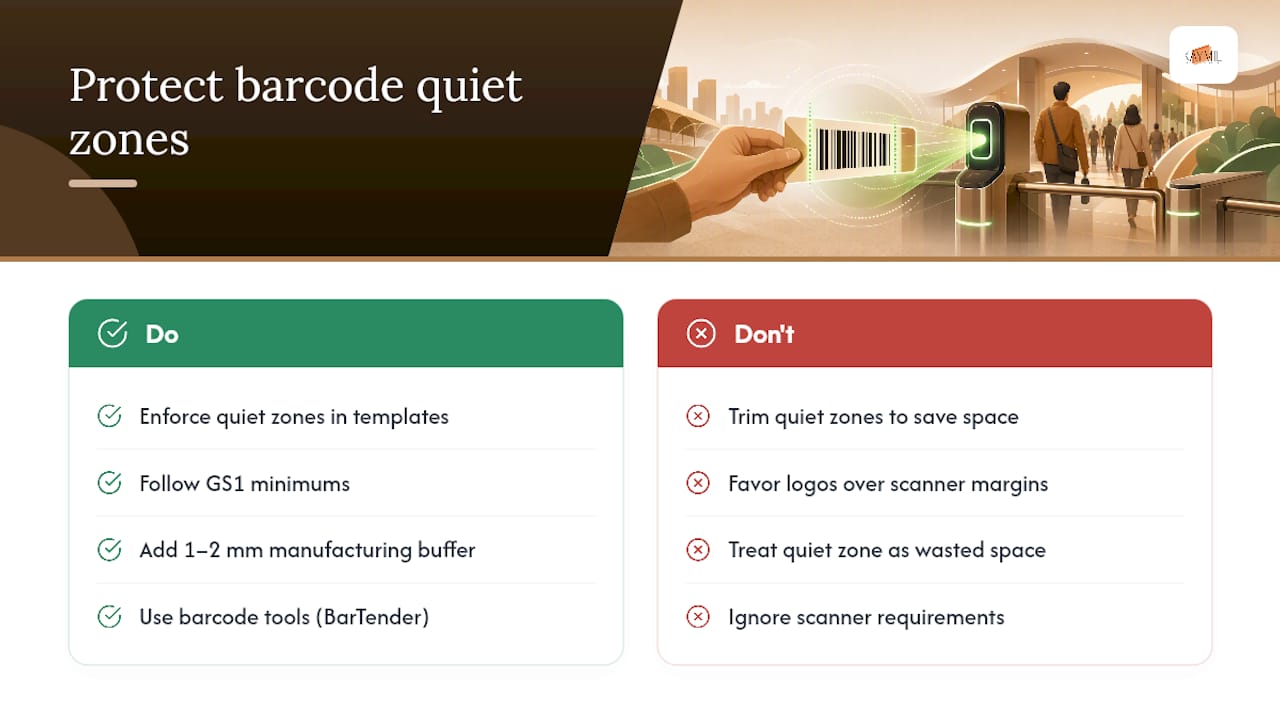
The margin isn’t wasted space. It’s the only part of the barcode that tells the scanner where the actual data begins. A ticket with a slightly smaller logo still works fine. A ticket with a quiet zone shaved down to save an eighth of an inch produces intermittent failures that show up weeks later at a gate, at a register, or at a valet stand, long after anyone remembers the layout decision that caused it.
Tools like BarTender make it straightforward to template quiet zone rules directly into barcode artwork so the constraint enforces itself instead of relying on a designer’s memory. Pair that discipline with GS1’s published minimums and a small manufacturing buffer, and quiet zone violations mostly disappear from the list of things that go wrong on press.
— Richard
Sources
- 10 steps to barcode your product - English | GS1
- GS1 2D in Retail Playbook (AIDC Lab / GS1)
- Best practices for maximizing barcode reader technology (Dynamsoft)
FAQ
Is Code 128 better than Code 39?
Code 128 packs more data density into a smaller footprint and supports the full ASCII character set, while Code 39 is simpler to decode and remains common on legacy systems; for ticketing and inventory where space is tight, Code 128 is generally the stronger choice.
How do you get a proper quiet zone for barcodes on tight layouts?
Calculate the minimum based on your symbology’s multiple of the X-dimension or module size, then add 1 to 2 millimeters of buffer for print growth, and keep all text, perforations, and fold lines outside that margin.
Can printed elements sit close to a barcode’s quiet zone without causing problems?
No. Even light graphics, faint lines, or registration marks inside the quiet zone can create false edges that cause a scanner to misread or reject the barcode entirely.
Is Code 128 still used in ticketing and retail?
Yes. Code 128 remains one of the most widely used linear symbologies for tickets, shipping labels, and inventory tracking because of its data density and broad scanner compatibility.