
Avoid Dispenser Jams: Black-Mark Ticket Specs for Parking Operators

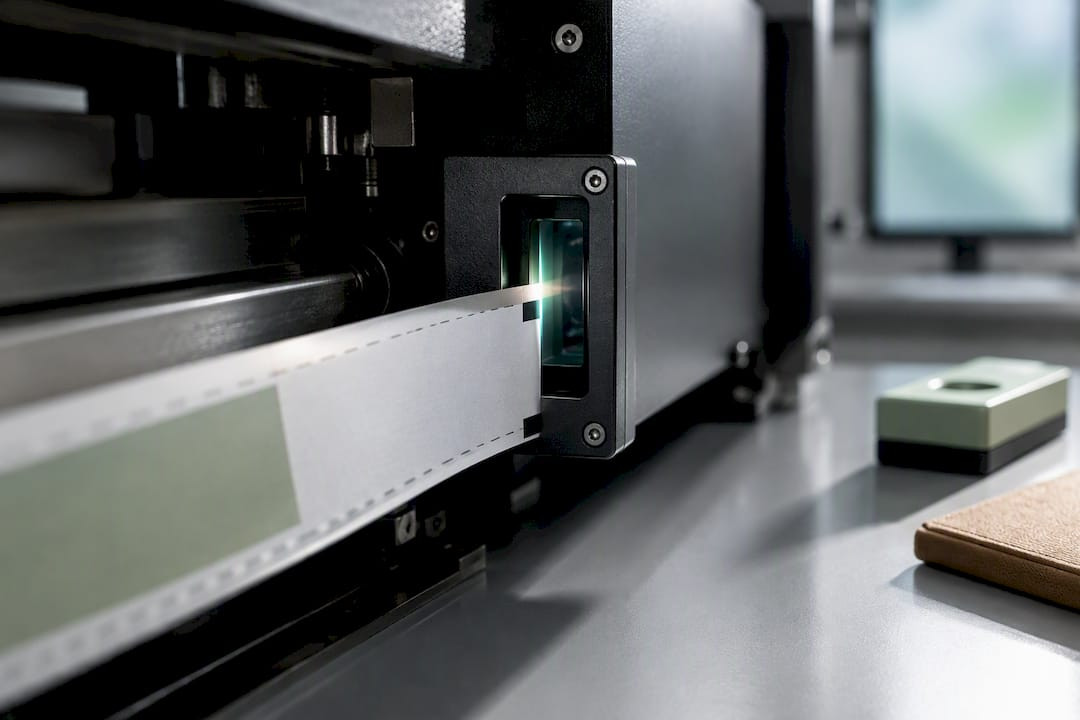
Black mark orientation tickets are preprinted ticket stock carrying a sensor-readable black registration mark that helps a printer detect where to feed, print, and cut. That mark is what keeps a dispenser or kiosk printer from slicing through a barcode or issuing a ticket with an inch of blank stock trailing behind it. Any operation running dispenser, spitter, machine-issued, or kiosk ticket printers depends on this system for reliable, fixed-length ticket output.
TL;DR:
- Proper contrast in the black mark, usually a density above 1.3, is essential for reliable detection across all stock types.
- Mark placement should be on the side opposite the thermal coating and aligned perpendicular to the feed path to ensure accurate sensing.
- Manual calibration or “teach” procedures are recommended to offset variability in ink density and accommodate media drift during setup.
- Ensuring the mark fully covers the sensor window and storing stock in the correct orientation reduces misreads and print errors.
- Using predefined specifications and testing sample batches before full orders minimizes misfeeds and improves overall printer reliability.
Table of Contents
- How Black-Mark Detection Controls Feed, Print, and Cut Events
- Ticket Stock Specs and Artwork Requirements for Reliable Detection
- Setting Up and Calibrating the Printer Sensor
- Loading Checklist for Consistent Mark Orientation
- Diagnosing Black Mark Errors and Cutter Miscuts
- What to Put on a Spec Sheet When Ordering Black-Mark Tickets
- Why Spec Discipline on Black-Mark Tickets Pays Off
- Ordering Black-Mark Compatible Tickets from Caymil
- Printer Manuals and Sensor Guides
- Sources
- FAQ
How Black-Mark Detection Controls Feed, Print, and Cut Events
A black-mark sensor works on a simple optical principle: it shines infrared or reflective light onto the ticket stock and measures what bounces back. Plain paper reflects light well. The black registration mark does not. When the sensor’s reading drops below a set threshold, the printer registers that dark band as a mark and treats it as a positioning trigger.
That trigger event is what the printer’s control board uses to decide where a ticket starts, where it stops, and precisely where the cutter blade should fire. Without it, the printer would have no reference point and would default to running blind, guessing at ticket length until stock jams or numbering runs together.
This is why black-mark control supports such a wide span of ticket sizes. Depending on the printer model, detection systems accommodate ticket lengths from roughly 25 mm up to 156 mm, which covers everything from a short valet stub to a longer multi-line event ticket. Kiosk printers built for parking and ticketing environments, like the KP347-V, pair black-mark detection with full or partial cut modes, ticket-taken sensors, and paper-end detection, all coordinated off that same mark.

Ticket Stock Specs and Artwork Requirements for Reliable Detection
Mark quality determines whether a printer reads cleanly or throws errors on every third ticket. Miss that contrast window and detection becomes unreliable no matter how well the printer is calibrated.
Placement matters as much as density. The mark generally needs to sit on the side opposite the thermal coating, since printing directly over or near the thermal layer can distort both the mark’s read quality and the print output next to it. Full-width marks tend to detect more consistently than partial-width bars, particularly on printers using a fixed (non-movable) sensor.
Format changes the math too. Fanfold stock and roll stock handle mark spacing differently, and gapped versus non-gapped formats change how the printer distinguishes a mark from a perforation. Design guidance from printer manufacturers recommends printing the mark as a solid, uninterrupted block rather than a screen-printed pattern, and keeping barcodes, sequential numbers, and corner radius cuts clear of the mark zone so nothing competes with the sensor’s read.
Setting Up and Calibrating the Printer Sensor
Sensor position has to match your stock’s mark placement, and most printers give you more than one sensor to choose from. Machines built for varying paper widths often include multiple black-mark sensors, with driver parameters letting you force a specific sensor (BM1 through BM4, for example) instead of relying on auto-detect. If your printer uses a movable sensor rather than fixed positions, align it so the mark fully covers the sensor window and account for a small amount of side-to-side media drift during feeding, roughly about ±1 mm.
Auto-detect features exist on most modern printers, but they are not foolproof. Variability in ink density from one print run to the next means a printer that read one roll perfectly can misread the next. That is why a manual “teach” step, where you feed a sample ticket and let the printer learn the mark’s density and position, is standard practice on first load. Some platforms use explicit commands for this: Honeywell’s Q-Mark find procedure has the operator set sensitivity, issue a find command, and wait for a confirmed “Q-Mark found” response before sending print data.

Once calibrated, run several feed and cut cycles and check that the cutter lands at the correct edge of the mark, whether your printer references the top or bottom of the black band.
Loading Checklist for Consistent Mark Orientation
Most black-mark errors trace back to how the stock went into the printer, not a defect in the stock itself. A five-minute check on load prevents most of the callbacks that follow.
- Confirm which side faces up. The black mark should face the sensor, and the thermal coating should face the print head, never the same side as the mark.
- Check mark direction against feed direction. The mark should run perpendicular to the feed path so the sensor crosses it cleanly on every cycle.
- Center the roll or fanfold stack so the mark tracks within the sensor’s read window, allowing for the roughly ±1 mm lateral tolerance most printers are built to handle.
- Feed three to five test tickets and run a cut cycle, checking that each cut lands cleanly relative to the mark.
- Inspect the cutter blade alignment visually before putting the unit back into live service.
Pro Tip: Wipe the sensor window with a dry, lint-free cloth every time you reload stock. A thin film of paper dust is one of the most common, and most overlooked, causes of intermittent black-mark misreads.
Diagnosing Black Mark Errors and Cutter Miscuts
A “Black Mark Error” almost always means the sensor either can’t find enough contrast or is reading the wrong side of the stock. A “Cutter Error” usually points to the blade not returning to its home position, or the mark landing in the wrong spot for the cut command to execute cleanly. A false “Paper Out” reading, meanwhile, is often just a mark being misread as the end of the roll.
Work through faults in this order before assuming the stock is bad or the printer needs service:
- Load a known-good sample ticket from a previous working batch and see if the error clears.
- Re-run the teach or calibration procedure rather than assuming the old settings still apply.
- Check the mark against densitometer guidance; a reading below roughly 1.3 is a strong sign the print run itself is the problem.
- Inspect the cutter’s home position and clear any built-up paper dust or misaligned blade travel.
If a known-good sample clears the error, the issue is almost certainly the new stock batch, and it’s worth pulling that roll and sourcing a replacement rather than repeatedly adjusting sensitivity to compensate. A gate or kiosk that can’t wait for replacement stock can often run temporarily on a slightly higher sensitivity setting, but treat that as a stopgap, not a fix.
What to Put on a Spec Sheet When Ordering Black-Mark Tickets
Getting compatible stock on the first order comes down to giving your supplier the right numbers up front, not troubleshooting after a shipment arrives. A clear spec sheet should include:
- Ticket width and length, plus the black mark’s width, thickness, and distance from the reference edge
- Densitometer or reflection spec, and which side carries the thermal coating
- Paper weight, format (roll or fanfold), gap or non-gap construction, corner radius, and any perforation
- Printer make and model, including sensor position, so barcode and logo placement can be planned outside the mark zone
- Sequential numbering requirements, if applicable
Before committing to a full production run, request a test roll or a sample batch of 50 to 100 tickets and run a complete teach-and-cut cycle on your own equipment. A reliable ticket stock that fails on one printer model can perform flawlessly on another, and catching that at the sample stage costs a fraction of what it costs after installing across a dozen kiosks. Pair that with an operator alignment checklist so your floor team knows exactly what “correctly seated” looks like the first time new stock arrives.
Why Spec Discipline on Black-Mark Tickets Pays Off
Every jam, every misfeed, every emergency service call on a dispenser printer traces back to something that was decided long before the ticket ever loaded, usually a mark spec that didn’t quite match the printer’s sensor. Caymil has spent decades manufacturing ticketing stock for parking and hospitality operators, and the pattern holds across nearly every callback: the fix is rarely the hardware. It’s the mark.
Before you commit to a production run, confirm compatibility with your printer model and always request a sample proof. It’s the cheapest insurance a gate operation can buy.
— Richard
Ordering Black-Mark Compatible Tickets from Caymil
Some manufacturers offer both stock and fully custom ticket runs built to match black-mark sensor requirements, with options for sequential numbering, barcoding, multi-part carbonless formats, and compatibility across major parking systems including Amano, TIBA, SKIDATA, FLASH Parking, Scheidt & Bachmann, and Flowbird. Compared to sourcing generic thermal stock and hoping it registers correctly, working with a manufacturer that understands mark placement can reduce failed teach cycles and downtime.
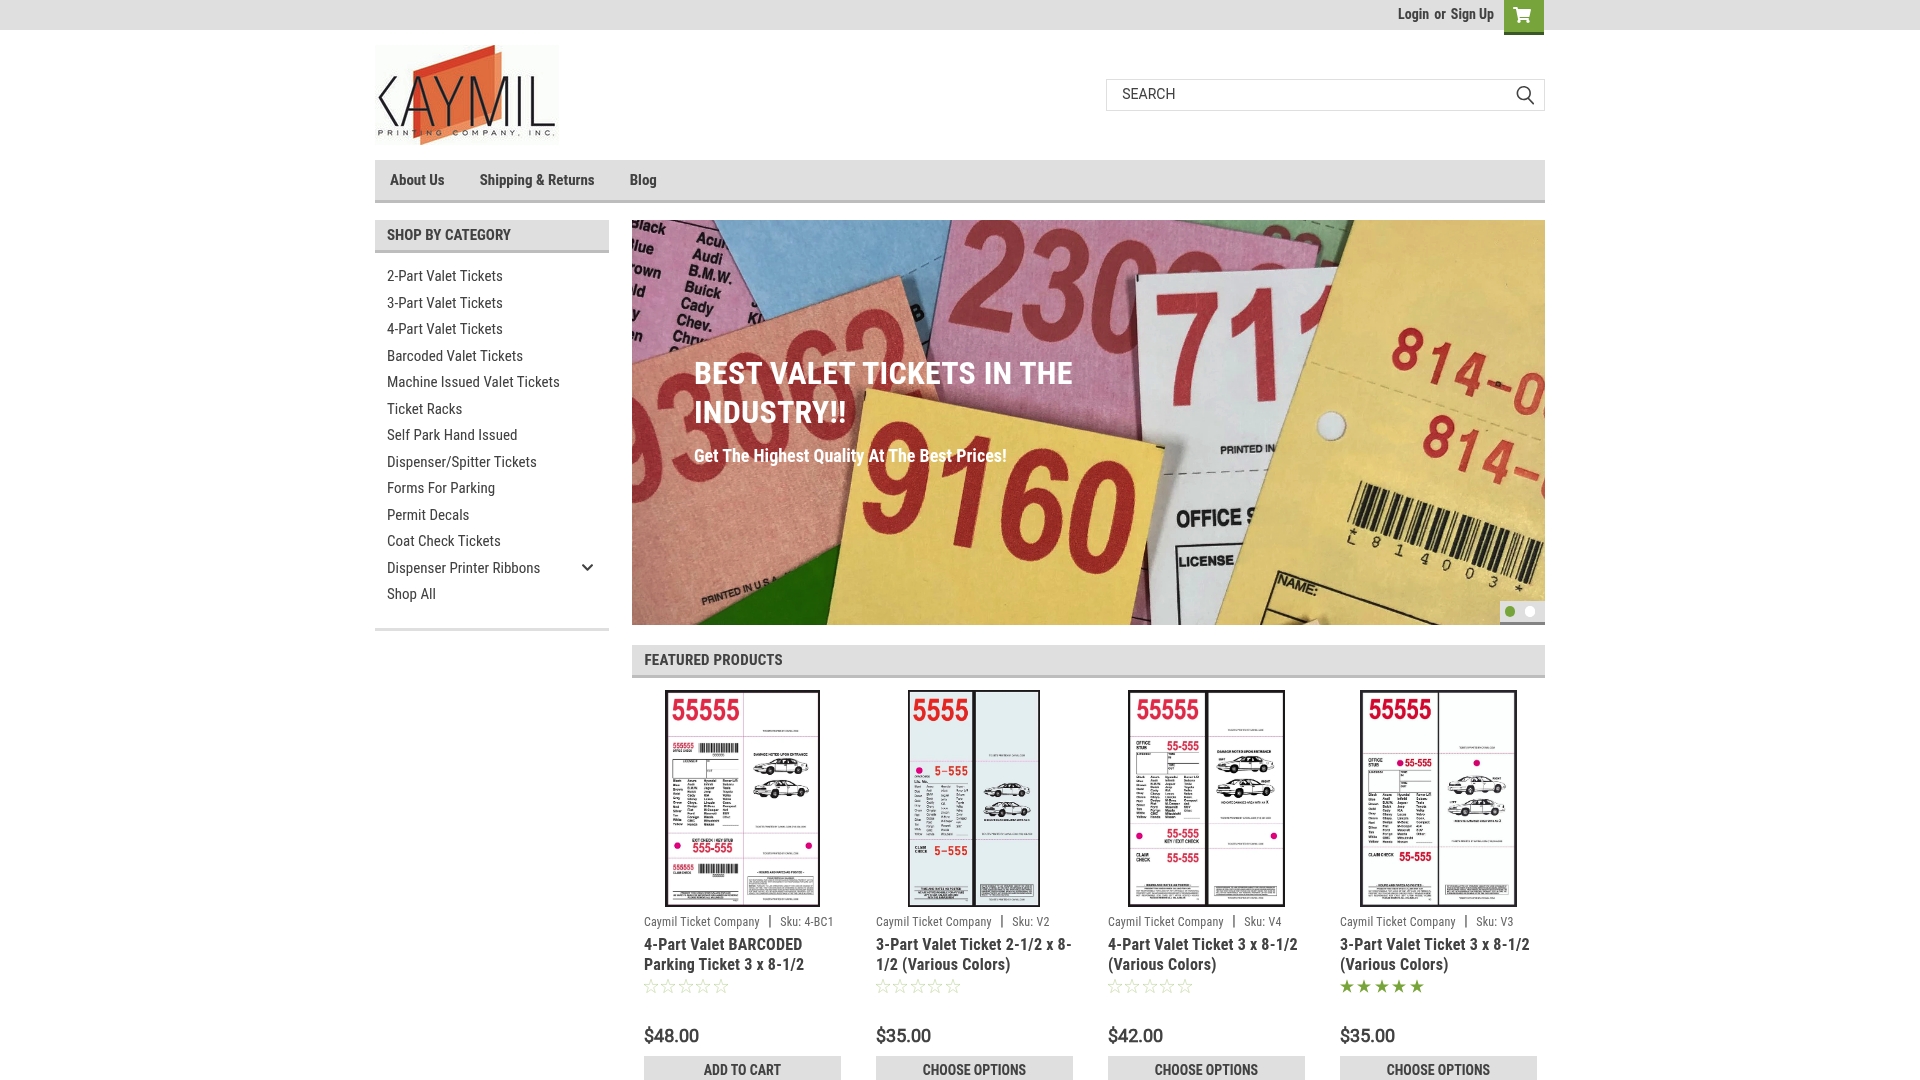
To get a quote, send your printer make and model, mark placement requirements, and quantity, and request a sample batch before committing to a full run. Caymil’s machine-issued and dispenser-compatible ticket stock covers most kiosk and spitter printer setups, and the barcoded valet ticket line is built with barcode placement planned around standard mark zones. If your operation runs multi-part carbonless tickets alongside machine-issued stock, the 3-Part Valet Tickets line, priced from $35 to $250, covers that need directly. Reach out with your spec sheet today and get a sample proof running before your next stock order is due.
Printer Manuals and Sensor Guides
Always check your printer’s own manual first for model-specific commands. The CPM 2000 Technical Manual, TTP2100 sensor positioning guide, and Honeywell APEX black-mark support article informed the calibration steps above. For general thermal printing background, PrintCafe USA’s thermal labeling guide covers sensor fundamentals that carry over to ticket printing.
Sources
- CPM 2000 Technical Manual (Zebra)
- Black Mark Sensor Positioning on the TTP2100 (Zebra Support)
- Adjusting the movable sensor for black marks or notches (Zebra docs)
- Honeywell APEX printer using Black-Mark sensing
FAQ
What Is a Black Mark on a Ticket?
A black mark is a preprinted registration bar on the back or edge of ticket stock that a printer’s sensor reads to control feed, print, and cut positions. It appears as a solid dark band that contrasts sharply against the paper, typically meeting a densitometer reading above 1.3 to 1.5 for reliable detection.
Why Does My Printer Show a Black Mark Error?
This error almost always means the sensor can’t find enough contrast to register the mark, often because the stock is loaded upside down or the mark’s density falls below the printer’s threshold. Re-teaching the sensor and testing with a known-good sample usually isolates whether the problem is the stock or the setup.
Can I Use Any Ticket Stock in a Black-Mark Printer?
No. The stock needs a mark meeting your printer’s specific density, placement, and width requirements, and generic or mismatched stock is one of the most common causes of misfeeds and miscuts. Requesting a sample roll from your supplier and running a teach-and-cut test before a full order avoids this.
Does Caymil Sell Ticket Stock Compatible with Black-Mark Printers?
Yes. Caymil supplies machine-issued and dispenser-compatible ticket stock built for black-mark detection, along with barcoded and multi-part formats compatible with major parking system brands. Pricing on custom runs is available on request through Caymil’s product pages.
What Ticket Lengths Work with Black-Mark Detection?
Black-mark systems typically support ticket lengths from about 25 mm to 156 mm, depending on the printer model. Check your printer’s technical manual for the exact range your hardware supports before finalizing a ticket length with your supplier.